Residential
Overview
Our history dates back to 1924.
Redefining the renting experience.
We’ve built over 145,000 quality homes.
Proud stories from our communities.
Find out what sets us apart.
Our communities
Find your new home.
Find out about our future communities.
Explore our portfolio.
Find a rental property.
Explore
Services
Our leading customer care and loyalty program.
Caring for people, properties, and places.
We’re creating a better way to live.
Our carbon neutral energy business.
Use our Property Tracker tool to track your progress.
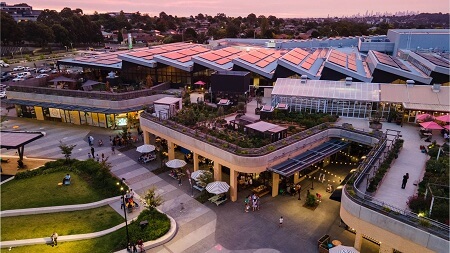
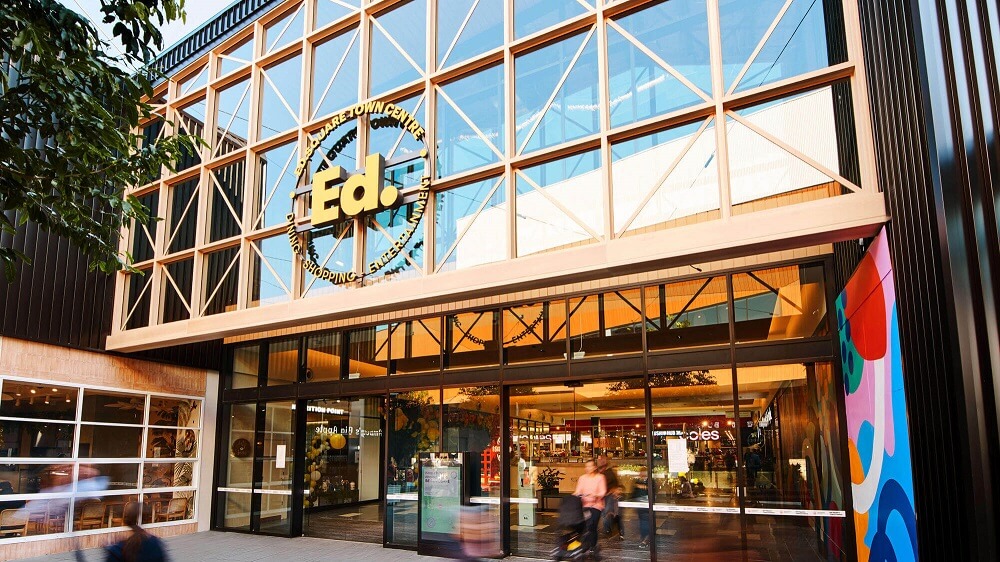
Retail
Our retail centres are the heart of our communities.
We create and manage award-winning, bespoke retail spaces.
Flexible short-term leasing opportunities.
Tap into true retail expertise.
News from our retail centres.
Our team are here to help.
Explore our retail centres.
Find the new home for your business.
Explore real-world retail solutions.
We’re creating a better way to shop.
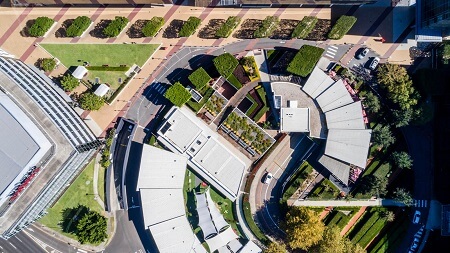
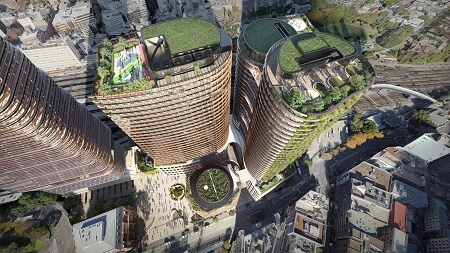
Commercial
Taking care of business since 1924.
We create the workplaces of the future.
We believe when people thrive, businesses thrive.
Explore our commercial communities.
We’re creating a better way to work.
Oops, it looks like something is wrong as we can't find the page you're looking for.